
5 Tools Every Hobbyist Should Own (and How to Use Them)
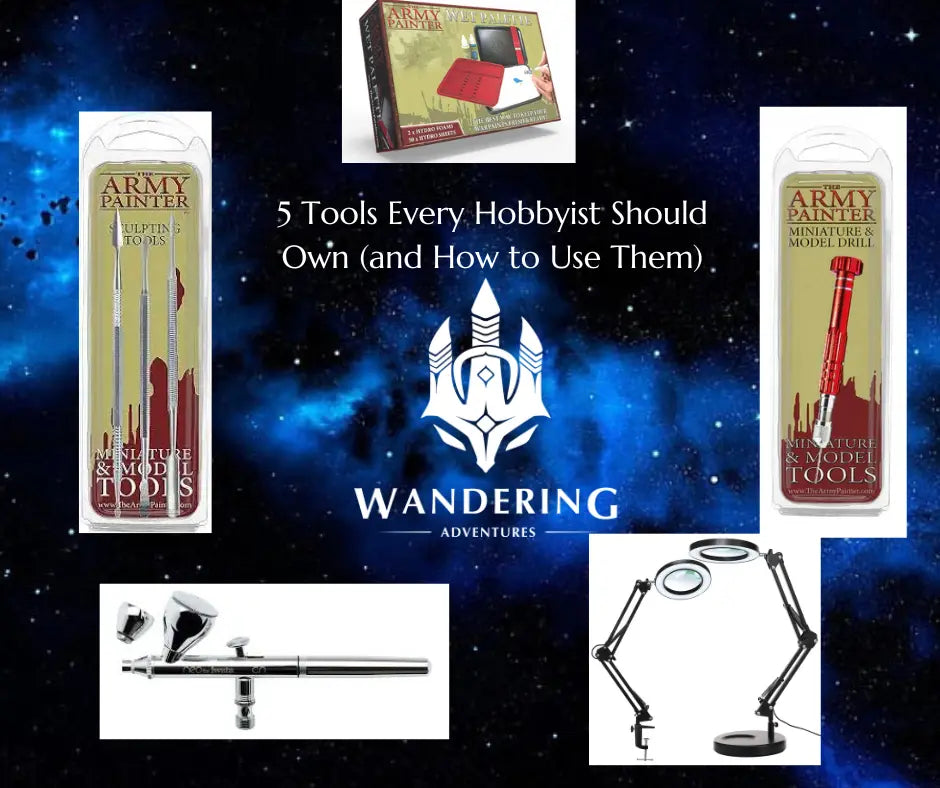
As a tabletop hobbyist, there comes a point when basic tools like clippers, hobby knives, and brushes aren’t enough to take your projects to the next level. Whether you’re building intricate models, painting advanced techniques, or diving into conversions, upgrading your toolkit can save you time and improve your results. Here are five intermediate-level tools that every hobbyist should consider adding to their arsenal—and how to make the most of them.
1. Pin Vise (Hand Drill)
A pin vise is an invaluable tool for drilling precise holes in miniatures, particularly for pinning parts together or creating dynamic effects like bullet holes. Pinning involves inserting a small metal rod (like a paper clip or brass rod) between two parts of a model to strengthen the bond, especially for larger or heavier pieces.
Why You Need It:
-
Prevents fragile models from breaking.
-
Opens up possibilities for converting miniatures (e.g., repositioning arms or adding custom elements).
How to Use It:
-
Select a drill bit that matches your pin material’s diameter.
-
Mark the center of the area you’ll drill with a hobby knife to keep the bit steady.
-
Drill slowly and steadily to avoid damaging the miniature. For resin or metal models, take extra care to avoid cracking or overheating the material.
Pro Tip: Keep a few sizes of brass rods or paper clips on hand to match different projects.

2. Wet Palette
If you’ve been painting miniatures without a wet palette, you’ve been missing out on smoother blends and longer-lasting paint. A wet palette keeps acrylic paints moist for extended periods, making advanced techniques like glazing and wet blending far easier.
Why You Need It:
-
Saves paint and prevents waste.
-
Keeps paints workable for hours (or even days with proper sealing).
-
Makes blending and layering smoother and more consistent.
How to Use It:
-
Fill the palette’s base with a layer of water.
-
Place the provided sponge or a piece of baking parchment on top.
-
Add your paint onto the parchment; the moisture will keep it from drying out.
Pro Tip: You can make a DIY wet palette with a shallow plastic container, a sponge, and parchment paper if you’re on a budget.

3. Sculpting Tools
Whether you’re filling gaps with green stuff or sculpting entirely new elements, a set of sculpting tools is a must for hobbyists looking to customize their miniatures. These tools help shape, smooth, and detail putty or other modeling materials.
Why You Need Them:
-
Seamlessly fill gaps in models or bases.
-
Add unique details to miniatures, like fur, armor plating, or facial expressions.
-
Create custom bases or terrain features.
How to Use Them:
-
Use a flat tool to press and smooth putty into gaps.
-
A pointed tool or needle can add fine details like rivets or fur texture.
-
Keep tools lubricated with a bit of water or petroleum jelly to prevent the putty from sticking.
Pro Tip: Silicone-tipped tools are fantastic for smooth finishes and organic shapes.

4. Airbrush
While an airbrush is an investment, it’s a game-changer for painting miniatures. Perfect for base-coating, creating smooth gradients, and applying effects like object-source lighting (OSL), an airbrush can dramatically speed up your workflow and elevate your results.
Why You Need It:
-
Provides even coverage, especially on large models or terrain.
-
Achieves smooth transitions for techniques like zenithal highlighting or blending.
-
Saves time compared to traditional brushwork for large-scale projects.
How to Use It:
-
Thin your paints to the consistency of milk using airbrush thinner.
-
Practice on spare materials to perfect your control and air pressure settings.
-
Regularly clean your airbrush to avoid clogs and ensure longevity.
Pro Tip: Start with an entry-level airbrush and compressor combo to learn the basics before upgrading to high-end equipment.

5. Magnifying Lamp or Headband
As you tackle more detailed painting or assembly, a magnifying lamp or headband becomes a crucial tool for reducing eye strain and achieving precision. These tools offer hands-free magnification and proper lighting, which is essential for intricate details like eyes, freehand designs, or tiny conversions.
Why You Need It:
-
Enhances visibility for tiny details.
-
Reduces fatigue during long hobby sessions.
-
Helps spot imperfections in assembly or painting.
How to Use It:
-
Position the lamp to minimize shadows on your workspace.
-
Adjust the magnification level to suit your comfort and the task at hand.
-
Use the lamp’s built-in lighting for consistent brightness.
Pro Tip: For portable magnification, a headband with LED lights is a versatile alternative to a stationary lamp.

Honorable Mentions:
-
Hobby Saw: For cutting through thicker plastic or resin.
-
Paint Shaker: To ensure even consistency in paints, especially older ones.
-
Clamping Tweezers: To hold small parts in place while gluing or painting.
By investing in these intermediate-level tools, you’ll not only enhance the quality of your projects but also make your hobby time more enjoyable and efficient. If you’re looking to pick up any of these tools, drop by Wandering Adventures, and we’ll help you find the perfect addition to your kit!