
Preparing A Miniature For Painting
Hi everyone!
Today at Wandering Adventures we are going to look at preparing a miniature for painting. It's not a crazy process, but there are a few things to look out for to make sure your painting process goes smoothly (pun intended).
Now, assembling miniatures is one of my least favorite parts of the hobby, but it is very important. I learned a long time ago that you can't paint away imperfections in your build, so taking some time doing this is important.
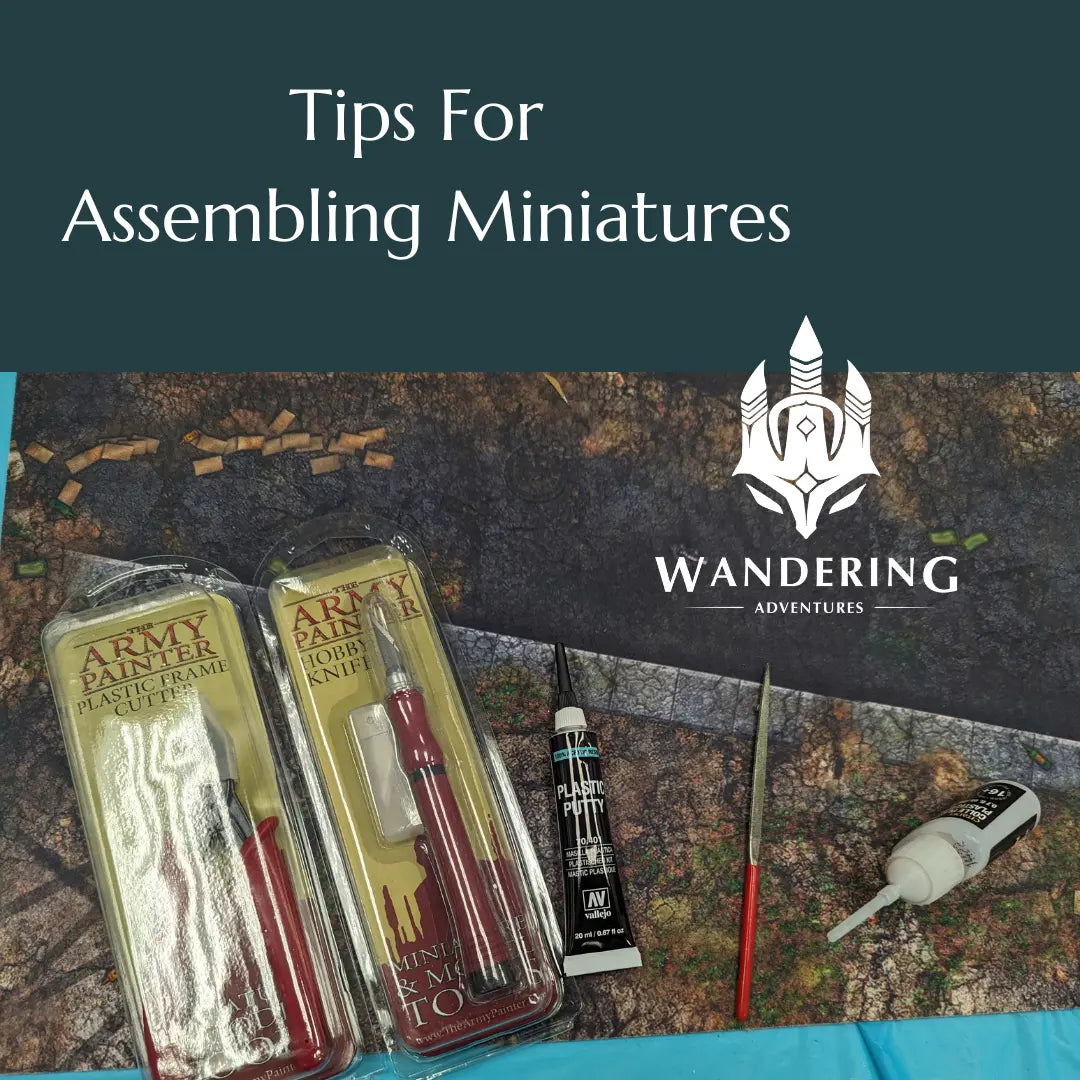
Here are some important tools for you to start with:
-Sprue Cutters/ Frame Cutters
-Hobby Knife
-Plastic Putty
-File
-Glue
Clean the Miniature (If using resin or Nolzur's Pre-Primed):
- Before you start painting, make sure the miniature is clean from any dirt, dust, or mold release agents.
- Wash the miniature with warm soapy water and use a soft toothbrush to gently scrub away any residues.
- Rinse thoroughly and let it dry completely.
Remove Mold Lines and Flash After Cutting From Sprue:
- When you cut the pieces from a sprue, you want to cut as close to the actual miniature as you can, leaving as little of the excess plastic as possible
- Check the miniature for mold lines (the seams where the two halves of the mold meet) and any excess material (flash).
- Use a hobby knife, mold line removal tool or files to carefully scrape away mold lines and trim excess material. I like to use a combination of both tools, with the hobby knife being the primary tool and the file coming in secondarily when needed.
 (Source:https://www.wargamingtradecraft.com/2015/04/getting-started-removing-mould-lines.html)
Gluing Miniatures:
- Before applying glue, dry fit the components to ensure they align correctly. This allows you to identify any issues and make adjustments before the glue is applied.
- Choose a glue suitable for the material of your miniatures. For plastic miniatures, plastic cement or polystyrene cement works well. For metal or resin miniatures, super glue (cyanoacrylate) is often used.
- Gel-type super glues provide better control and reduce the risk of accidental spills.
- Glues that come with a brush (AK Interactive cement) are nice because you be very accurate in application
- Use a small amount of glue to avoid excess that might ooze out when you press the components together. Too much glue can also obscure details.


Fill Gaps and Imperfections:
- If there are gaps or imperfections in the miniature, use a modeling putty or filler to fill them.
- Allow the putty to dry completely and then sand it down for a smooth surface.
- I like to use Liquid Green Stuff or Vallejo Plastic Putty. They are water based so you can use some water to really fill the gaps smoothly and give yourself less (if any at all) filing work afterward. One thing to keep in mind is that these products do "shrink" so you may need to do 1-3 applications to really cover any seams.


Sprue Cutters
info@wanderingadventures.net