
Using Decals On Your Miniatures
One hobby technique that seems to get written off as "too difficult" or not worth it is using decals on your miniatures.
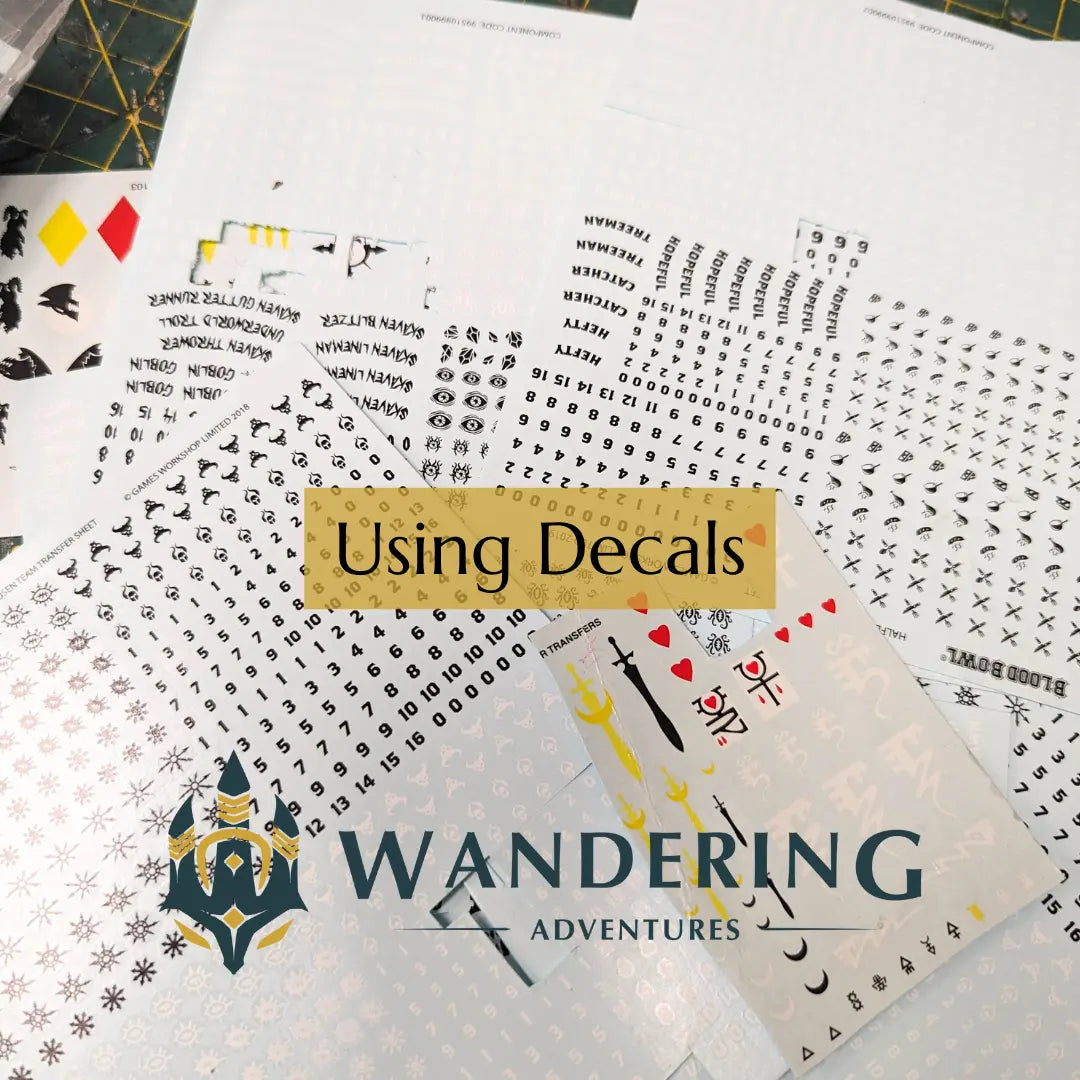
Many miniature producers provide decals as part of their kits, and I find them to be a wonderful addition and relatively easy to master with a few techniques. I'm going to go over applying decals simply using some common hobby tools. I will also make sidenotes where specific tools might make it even easier.
Tools:
Brush
Lahmian Medium
Tweezers
Decal
Water
Optional:
Decal Fix
Decal Softener
Decal Adapter
Varnish
Step 1. Get Decal Ready
Cut the decal from the sheet, dip it in water.
This part is easy. Cut the decal from the sheet that you want to use, and dip it in some clean water. Set it on your work table, and let it sit for about two minutes.
There are some products to make this easier, like Decal Softener. Water works ok, but a Decal Softener will work faster, and act a bit like a gel, will which help you not fold the decal when you are removing it from its backing. Again, it can be done without water, but Decal Softener is better.


2. Prepare your surface
You want to prepare the surface you are applying the decal too. In this case I am adding the decal to the Space Marines shoulder. I use Lahmian Medium for this. I apply a layer of Lahmian Medium over the area, and it creates a bit of a "glue." Lahmian Medium is paint without pigment, so it is a bit sticky like paint would be.
There are Decal Adapter and products that make the "glue" area much easier to work with, but Lahmium Medium can work too.

3. The Hard Part
Removing the decal from the backing is the hardest part. I like to use the stiffest brush I have to do this. You want to slowly try to creep the bristles under the decal, and remove it from the backing. Slowly is the key because you don't want to tear the decal, and you don't want the decal to fold in on itself either. You are trying to push the decal away from the backing, but also get it onto your brush.
Tip: if the decal isn't moving, it may need more time in water. If only the edges are starting to lift, apply so more water so it gets under the transfer.
Tip 2: Old transfer will likely break. Games Workshop transfers work quite well these days, but the older ones break easily. Try not to stress too much if they do, and start another one.
Tip 3: Sometimes a toothpick will help in this step. You still want to ultimately lift the decal using a brush, but a toothpick might help loosen it.

4. Applying the transfer.
Put the decal where you put the Lahmian Medium. Adjust the decal to the positioning you like, and let it dry.
If you find that some of the decal is curling or not sitting flat you have a couple options. Decal Fix or any sort of Decal product will help. I have also found creating a small slice with my hobby knife can sometimes help with flattening the decal. I don't like doing this because many things can wrong, but it can be an option in a pinch sometimes.

5. Finish
Once everything is dry, I would apply a second coat of a Decal Fix, Lahmian Medium or ideally a varnish to really seal in the decal.

I hope that helps, its a quick 5 steps and should really only take a couple minutes each decal. They are a great look to finish off any model.
If you want to see any other sort of demo or need some hobby advice, let us know!
info@wanderingadventures.net
www.wanderingadventures.ca